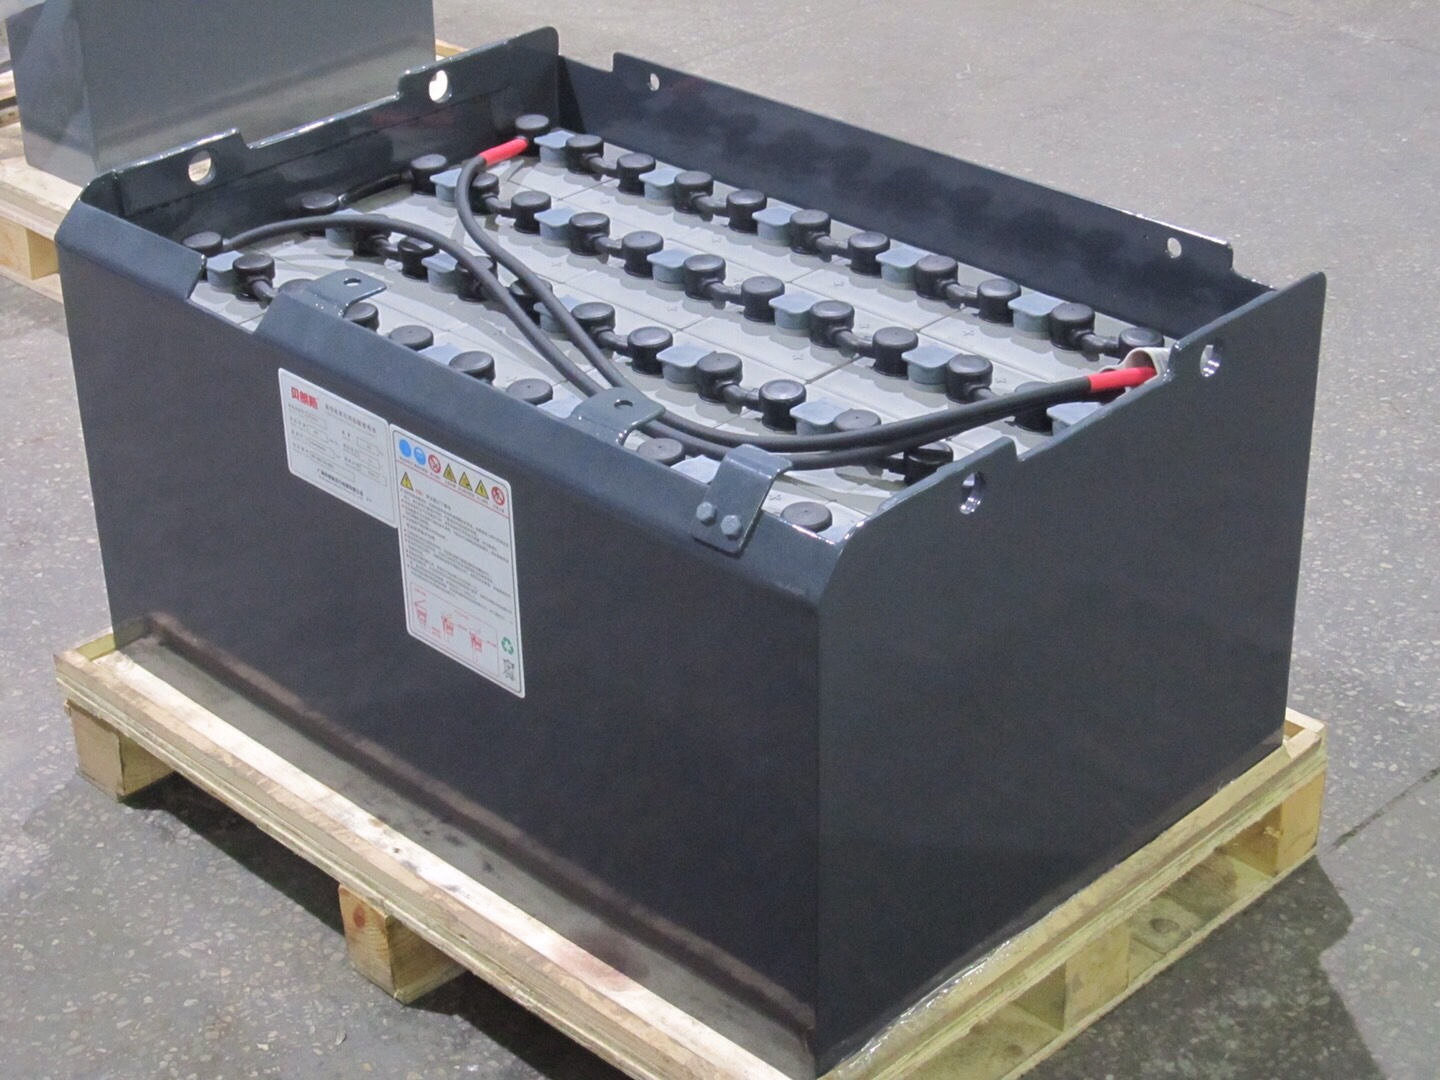
The charger is an essential item for charging each electric forklift battery. The inspection and maintenance of the charger is very important in the daily use of the electric forklift. The charger repair method described below is only applicable to professional charger repair electrical engineering personnel. Those who have not received electrical professional knowledge training may not allow the electric forklift charger housing to be opened for maintenance to prevent a safety accident.

1. Maintenance process
Step 1: Check if the mains power supply has electricity and if the battery is under voltage
1. Ensure that the 220V AC mains power supply has electricity and the link is reliable; the battery voltage is not lower than 20V (the charger will automatically protect and stop working below 20V).
2. When the battery voltage is lower than 20V, you can short the J2 and J3 connecting lines on the charger circuit board. After the voltage rises to 20V or higher, restore the links of J2 and J3 on the circuit board.
3. If the voltage is not under voltage, please open the charger casing in case of power failure, and observe whether the fuse, transformer, circuit board and other components are obviously burnt or damaged.
Step 2: Check if the transformer has output
1. Disconnect the DC and AC plugs and check that the charger board is not burnt out or damaged. Unplug the J2 and J3 pins on the board (the board is completely out of the circuit), using a foil or A small length of metal wire connects the two plugs J2 and J3 directly.
2. Only connect the AC mains power supply (not connected to the battery DC), use the AC voltage of the multimeter, the black test pen is connected to the position of the screw pile head, the red test pen is connected to the lower right position, and the AC voltage should be about 28V, then Connect the red test lead to the position of the upper pile head (the black test pen position is unchanged), and the AC voltage should be about 28V. If the voltage at any location is incorrect, it can be determined that the transformer is faulty.
Step 3: Check if the rectifier module has output
1. According to the above steps, if the voltages at both places are normal, switch the multimeter to DC voltage, the black test pen is connected to the A position, the red test pen is connected to the D position, and the universal display should show DC power of about 36V, if the voltage is very low. Or no voltage output, you can determine that the rectifier module is faulty. The diode file of the multimeter can also be used to determine the break.
Is the stream module damaged?
Step 4: Check the battery charging current
1. If the output voltage of the rectifier module is normal, then perform the main circuit charge detection, plug the battery plug, start charging, measure the current with the clamp current meter, if there is a certain charging current (the current value varies with the battery power), Indicates that the entire main circuit is working properly. It can be inferred that the charger fault is caused by the control board. (Note: When the main circuit is charging, the circuit board is completely disconnected, the charging process is not controlled, it can only be counted as time charging test, and can not be charged for a long time).
08:00-22:30